The Peugeot 205 remains a cherished classic among motoring enthusiasts across the country, celebrated for its nimble handling and enduring charm. Maintaining this iconic vehicle requires attention to detail, particularly when addressing critical systems such as the brakes. Over time, wear on brake components can compromise safety and performance, making regular inspection and replacement essential. Whether you're tackling a 1.6 or the more robust 1.9 variant, understanding the nuances of the braking system ensures that your beloved motor continues to deliver confident stopping power. This guide walks you through the process of refreshing your brake pads and discs, drawing on practical experience and proven techniques to help you restore your braking system with confidence.
Preparing your peugeot 205 for brake pad replacement
Gathering the Essential Tools and Components for the Job
Before setting to work under your Peugeot 205, assembling the correct tools and components is paramount. A comprehensive toolkit should include a set of quality spanners and sockets, a G-clamp for piston retraction, and possibly an impact screwdriver to tackle any stubborn disc screws that have seized over the years. A reliable Haynes manual specific to the 205 will serve as an invaluable reference, offering diagrams and torque specifications tailored to your model. For those working on the rear brakes, a new brake pad fitting kit is highly recommended to ensure all clips and retaining hardware are in optimal condition. Additionally, you'll want a wire brush to clean away rust and brake dust that accumulates around the calliper and mounting points, ensuring a smooth fit for the new pads. Don't overlook the importance of having fresh brake fluid on hand, as bleeding the system may be necessary to maintain proper hydraulic pressure and system integrity. A flat piece of metal or a sturdy screwdriver can assist in levering components, while a breaker bar might prove useful for particularly resistant fixings. Ensuring you have everything ready before lifting the vehicle minimises disruption and keeps the workflow efficient.
Safety checks before lifting your vehicle
Safety must always come first when working beneath any car, and the Peugeot 205 is no exception. Begin by parking on a level, firm surface and engaging the handbrake securely. If you're working on the front brakes, chock the rear wheels to prevent any unintended movement. Using a quality jack and axle stands rated for the weight of your vehicle is non-negotiable; never rely solely on a jack to support the car while you're underneath. Before raising the vehicle, loosen the wheel bolts slightly while the tyre remains in contact with the ground, as this prevents the wheel from spinning freely once elevated. Once the car is safely lifted and supported, remove the wheel entirely to gain clear access to the brake assembly. Take a moment to inspect the brake fluid reservoir under the bonnet, checking the level and condition of the fluid. If the reservoir is near the top, consider removing a small amount to prevent overflow when the calliper pistons are pushed back into their bores. Removing the cap from the brake fluid reservoir can also help relieve pressure in the system, making the subsequent steps easier and safer. These preparatory checks establish a secure working environment and set the stage for a successful brake maintenance session.
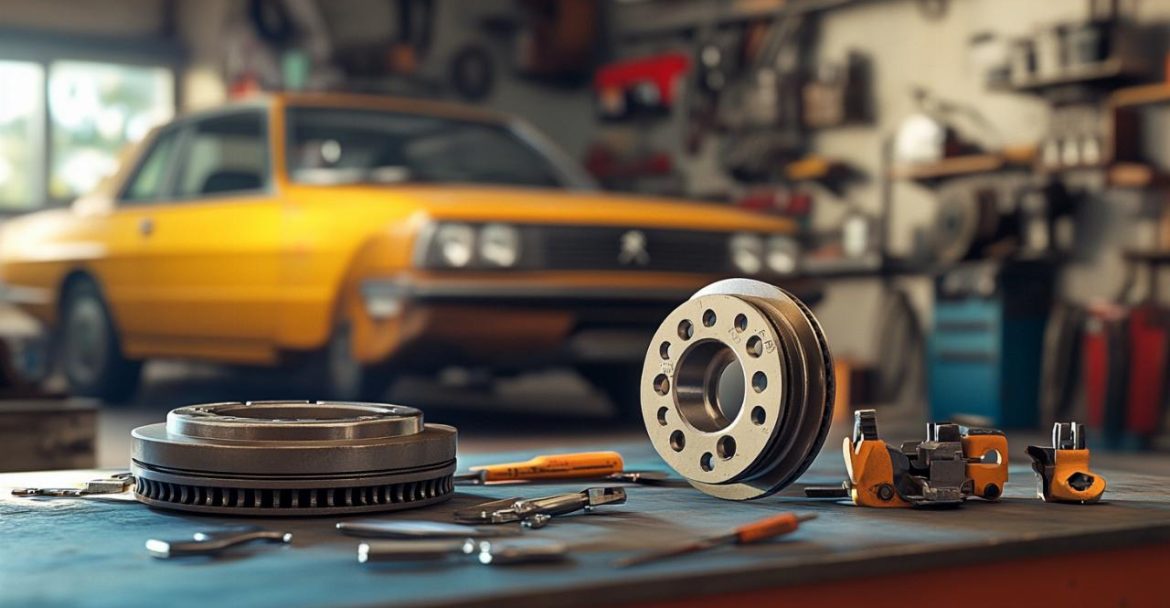
Removing the Old Brake Pads and Inspecting the Discs
Accessing the Calliper and Releasing the Worn Pads
With the wheel removed, the brake calliper and disc are now fully visible. The design of the Peugeot 205 varies slightly depending on the model year and engine size, with the 1.6 typically fitted with Bendix callipers while the 1.9 uses Girling units. Understanding which type you have is crucial, as the piston retraction method differs between the two. On Girling callipers, the piston often needs to be rotated back rather than simply pushed straight in, a detail that has caught out many enthusiastic home mechanics. Begin by removing the calliper retaining bolts, which may require a socket or spanner depending on accessibility. Once freed, lift the calliper away carefully, taking care not to strain the brake hose. The old pads can now be extracted from their housing within the calliper bracket. Inspect them for uneven wear patterns, which might indicate issues elsewhere in the braking system such as a sticking piston or misaligned calliper. If the pads are worn down to the metal backing or if wear indicators are present, replacement is overdue. With the pads removed, you'll notice the piston protruding from the calliper body. This needs to be retracted to accommodate the thicker new pads, a task that can be achieved using a G-clamp and a flat piece of wood to distribute pressure evenly across the piston face. Some mechanics prefer using a long screwdriver as a lever, though care must be taken to avoid damaging the piston surface. For Girling callipers on the rear, the piston must be rotated back into the bore, a technique that may require a specific tool or careful manipulation with a suitable implement. Opening the bleed nipple slightly can ease this process, though it necessitates bleeding the brakes afterwards to expel any air introduced into the system.
Checking disc condition and master cylinder integrity
Once the pads are clear, turn your attention to the brake disc itself. Run your fingers gently across the surface to detect any grooves, scoring, or unevenness that might indicate excessive wear or warping. A warped brake disc is a common culprit behind brake judder, a disconcerting shudder felt through the steering wheel or pedal when braking at speed. If the disc surface is significantly scored or if the thickness has diminished beyond the manufacturer's minimum specification, replacement is necessary. Removing the disc typically involves undoing a small retaining screw, which can be remarkably stubborn due to corrosion. An impact screwdriver proves invaluable here, delivering sharp rotational force that breaks the bond without stripping the screw head. With the screw removed, the disc should slide off the hub, though rust and debris may have caused it to seize in place. A few sharp taps with a rubber mallet around the disc's edge usually frees it. While the disc is off, inspect the hub surface and clean it thoroughly with a wire brush, removing any rust or brake dust that could prevent the new disc from sitting flush. This is also an opportune moment to check the master cylinder for any signs of fluid leakage or deterioration. The master cylinder maintains hydraulic pressure throughout the braking system, and any compromise here can lead to reduced braking performance or complete system failure. Ensure the fluid level is correct and that there are no visible leaks around the cylinder body or connecting lines. If any issues are detected, address them before proceeding, as a sound hydraulic system is fundamental to safe braking performance.
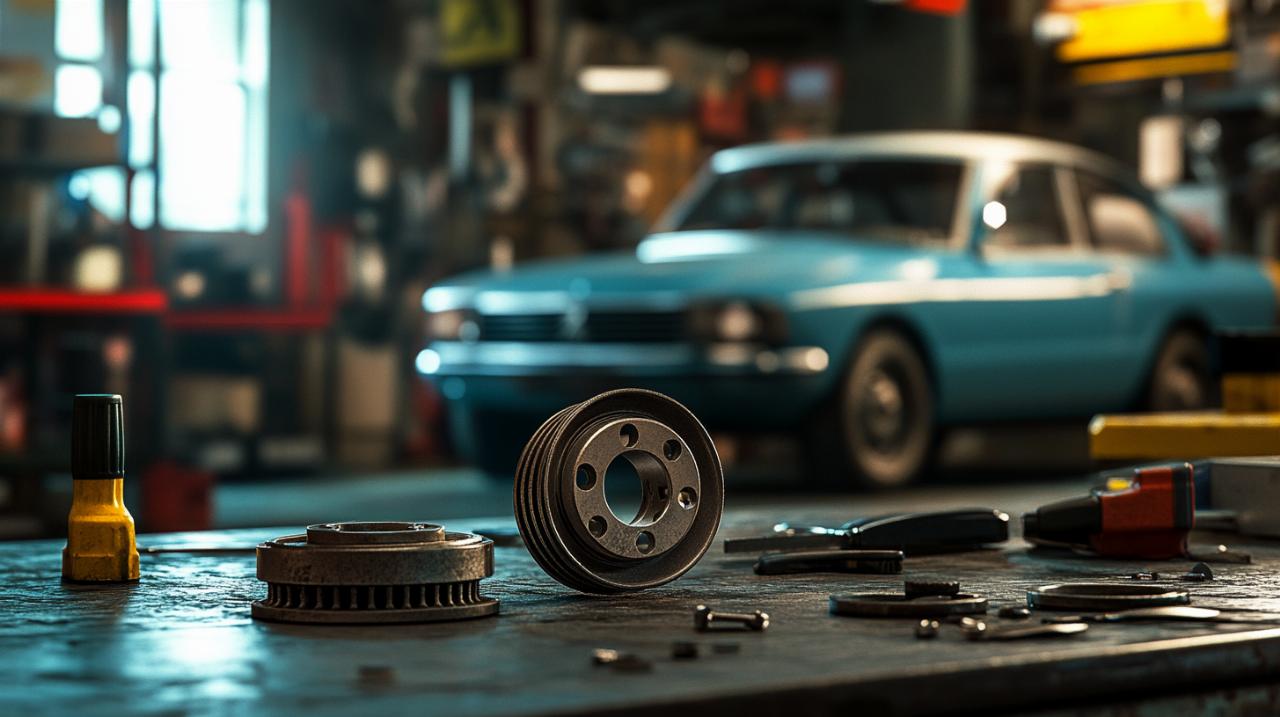
Installing new brake pads and testing your braking system
Fitting the Replacement Kit and Reassembling the Calliper
With the old components removed and the disc and hub surfaces cleaned, you're ready to fit the new parts. Slide the new brake disc onto the hub, ensuring it sits flush against the mounting surface. Secure it with a new retaining screw, tightening it firmly but without excessive force that might damage the threads. If you're replacing the discs on both sides, repeat the process on the opposite wheel before moving to the pad installation. Position the new brake pads into the calliper bracket, ensuring any wear indicators are correctly oriented and that the pads are seated properly within their retaining clips. If you're using a new fitting kit, replace all the clips and hardware to guarantee optimal retention and performance. Now comes the task of refitting the calliper over the new pads. With the piston retracted, the calliper should slide back into place relatively easily, though you may need to apply gentle pressure to align everything correctly. Reinsert and tighten the calliper retaining bolts to the specified torque, ensuring the calliper can move freely on its slide pins. Seized slide pins are a common source of uneven pad wear and reduced braking efficiency, so take a moment to check that they're clean and lightly greased. Once the calliper is secured, pump the brake pedal a few times to bring the pads into contact with the disc. This is a critical step, as failing to do so means the first press of the pedal will travel much further than expected, potentially causing alarm or even an incident if the vehicle is moved before the system is properly set. The pedal should feel firm and responsive after a few pumps, indicating that the pistons have extended and the pads are correctly positioned.
Bleeding the Brake Fluid and Verifying Proper Function
If you opened the bleed nipple during piston retraction or if there's any suspicion that air has entered the hydraulic system, bleeding the brakes is essential. Air in the brake lines compresses under pressure, resulting in a spongy pedal feel and diminished braking force. Begin at the wheel furthest from the master cylinder, typically the rear passenger side, and work your way forward. Attach a length of clear tubing to the bleed nipple and submerge the other end in a container partially filled with fresh brake fluid. Have an assistant press the brake pedal slowly and hold it down while you crack open the bleed nipple, allowing fluid and any trapped air to escape. Close the nipple before the assistant releases the pedal, then repeat the process until no more air bubbles appear in the tubing. Top up the brake fluid reservoir regularly during this process to prevent it from running dry, which would introduce yet more air into the system. Once all four wheels have been bled and the pedal feels firm, perform a final check of the fluid level and ensure the reservoir cap is securely refitted. Refit the wheels, tightening the bolts in a star pattern to ensure even pressure distribution, and lower the vehicle back to the ground. Before taking the car onto public roads, conduct a series of low-speed braking tests in a safe, controlled environment such as a quiet car park or driveway. This allows the new pads to bed in against the discs and confirms that the braking system is functioning correctly. During the first hundred miles or so, avoid harsh braking where possible, as this allows the friction material to settle and optimises long-term performance. Should you experience any unusual noises, vibrations, or a soft pedal, revisit your work and check for any overlooked issues. A properly executed brake replacement not only restores confidence in your Peugeot 205's stopping ability but also reinforces your capability as a home mechanic. For those less inclined to tackle the job themselves, obtaining a quote from a reputable garage such as Fixter ensures the work is carried out to professional standards. Whether you're maintaining a cherished GTI or a practical HDI variant, keeping the braking system in top condition is a means of preserving both the vehicle's value and your safety on the road. Regular maintenance of components such as shock absorbers and ensuring all doors and mechanical elements are in good order further enhances the overall driving experience of this enduring classic.