Maintaining the interior of your vehicle in pristine condition can feel like a constant battle, particularly when it comes to the dashboard. Even the most careful driver can find themselves staring at an unsightly scratch marring the surface of their plastic dash. These marks, whether from keys, bags, or simply everyday wear and tear, are not merely cosmetic annoyances. They represent a tangible dent in your car's overall value and can detract from the pride you take in your motor. Fortunately, with the right approach and a bit of patience, many dashboard scratches can be effectively addressed, restoring your interior to its former glory and preserving your vehicle resale value.
Understanding dashboard scratches and preparing your workspace
Before diving into the repair process, it is essential to understand precisely what you are dealing with. Not all scratches are created equal, and the method you employ will depend heavily on the severity and nature of the damage. A thorough assessment of the affected area is the crucial first step in achieving a successful repair.
Identifying different types of dashboard scratches
The first task in addressing any interior damage is to determine whether you are looking at a surface scuff or a deep gouge. A simple technique, often referred to as the fingernail test, can help you make this distinction. Gently run your fingernail across the scratch; if your nail catches in the groove, you are likely dealing with a deeper mark that has penetrated the plastic. Conversely, if your nail glides smoothly over the area, the scratch is probably superficial and confined to the surface layer. This initial diagnosis is vital because it dictates the entire approach to the cosmetic repair. Surface scuffs, which are far more common, can often be addressed with buffing and polishing techniques. These marks are typically the result of light abrasion and have not compromised the structural integrity of the dashboard plastic. On the other hand, deep gouges present a more significant challenge, potentially requiring filling and sanding to restore the surface to an acceptable level. The texture of the plastic itself also plays a critical role in the repair strategy. Dashboards can feature either a smooth, glossy finish or a more textured, grainy surface. Light scuffs on textured plastics can sometimes be remedied using controlled heat gun treatment, a method that requires precision and experience to avoid further damage. Attempting such techniques without proper knowledge can result in warping or melting the plastic, creating a far worse problem than the original scratch. Understanding these nuances ensures that you select the most appropriate method for your specific situation, whether that involves a straightforward polish or a more complex professional repair.
Gathering Essential Tools and Materials for Dashboard Repair
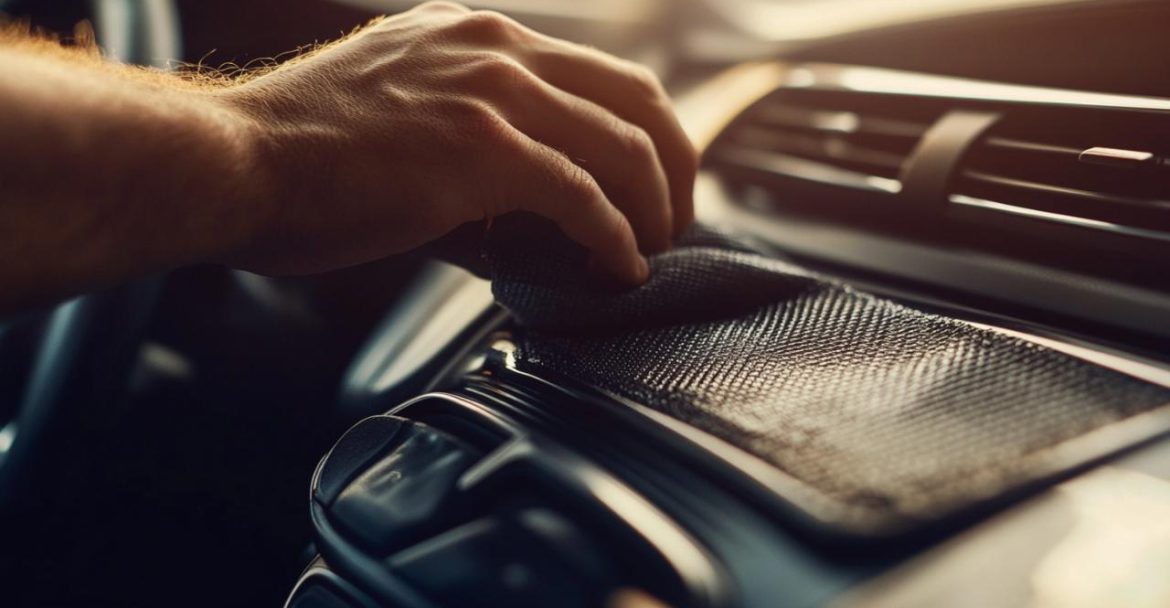
Once you have identified the type of scratch, the next step is to assemble the necessary tools and materials. For a basic surface scratch, a clean microfiber cloth is indispensable. These cloths are designed to lift dirt and debris without scratching delicate surfaces, making them ideal for automotive detailing. You will also need a quality plastic polish or a dedicated scratch remover formulated for automotive interiors. These products are designed to gently abuff the surface, diminishing the appearance of light marks. A small amount of water may also be required for the initial cleaning phase. Ensure that your workspace is well-lit and that the dashboard is free from dust and grime before you begin. A cluttered or dirty environment can introduce new scratches or prevent the polish from adhering properly. For those who prefer to tackle the task themselves, a repair kit specifically designed for car interior scratches can be a worthwhile investment. However, it is important to note that the market for plastic repair kits is substantial, expected to reach a value of approximately one point seven billion pounds, yet not all kits are created equal. Professional-grade kits, which are often used by specialists, achieve a seamless blend rate of around eighty-eight percent after repair, a figure that reflects the skill and precision required for optimal results. Gathering your materials in advance and ensuring you have a clean, organized workspace will set the stage for a successful repair, allowing you to work efficiently and with confidence.
Step-by-step process for buffing out dashboard scratches
With your workspace prepared and your tools at hand, you can now proceed to the actual repair. This process requires patience and a gentle touch, as overly aggressive buffing can exacerbate the problem rather than solve it. The key is to work methodically, following each step carefully to achieve the best possible outcome.
Proper cleaning and preparation techniques
The first and most critical step in any scratch removal process is to thoroughly clean the affected area. Even the smallest particles of dirt or debris can act as abrasives during buffing, potentially creating new scratches or deepening existing ones. Using a clean microfiber cloth, gently wipe down the dashboard to remove any surface dust. For more stubborn grime, dampen the cloth slightly with water and continue to wipe the area until it is completely clean. Allow the surface to dry fully before proceeding to the next step. This preparation phase, though simple, is absolutely essential. A clean surface ensures that the polish or scratch remover can work directly on the damaged area without interference from contaminants. It also allows you to see the scratch more clearly, giving you a better sense of the extent of the damage and the amount of effort required. Take your time during this stage; rushing through the cleaning process can undermine the effectiveness of the entire repair. Once the dashboard is clean and dry, inspect the scratch once more to confirm your earlier assessment. If the mark is indeed a light surface scuff, you are ready to move on to the polishing phase. If, however, the scratch appears deeper than you initially thought, it may be wise to reconsider your approach and potentially seek the assistance of a professional, particularly if the vehicle is leased or if the damage affects a highly visible area. Statistics indicate that up to sixty-eight percent of cars show interior scratches within just three years of use, and a scratched interior can decrease a car's resale value by as much as fifteen to twenty percent, underscoring the importance of addressing these issues promptly and correctly.
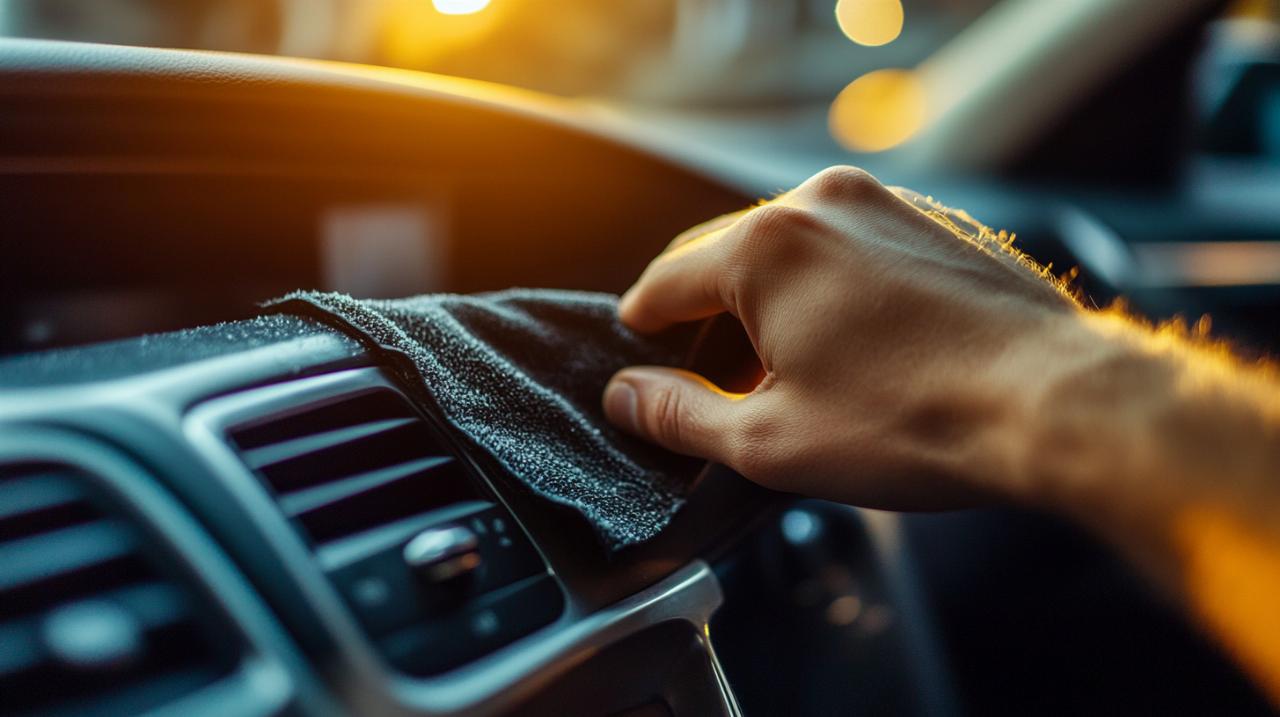
Applying polish and scratch remover effectively
With the dashboard clean and prepared, you can now apply the plastic polish or scratch remover. Dispense a small amount of the product onto a clean section of your microfiber cloth. It is important to use the polish sparingly; a little goes a long way, and excess product can be difficult to remove and may leave a residue. Gently rub the polish into the scratched area using small, circular motions. Apply light to moderate pressure, allowing the product to work its magic rather than forcing it into the plastic. Continue buffing for several minutes, periodically checking your progress. You should begin to notice the scratch fading as the polish fills in the damaged area and smooths the surface. If the scratch is particularly stubborn, you may need to repeat the process, applying a fresh amount of polish and continuing to buff until the mark is no longer visible. Once you are satisfied with the results, take a clean, dry section of the microfiber cloth and buff the area once more to remove any remaining polish and restore the dashboard's natural sheen. This final buffing step is crucial for achieving a professional-looking finish. For those dealing with deeper scratches, it is important to recognize the limitations of DIY methods. While surface scuffs can often be successfully addressed at home, deeper gouges typically require more advanced techniques, such as filling and sanding followed by re-texturing to match the original plastic texture. Professionals in the field of automotive detailing utilize specialized tools, including variable-temperature heat guns and plastic welders, to achieve results that are virtually indistinguishable from the original surface. The market data reflects the growing demand for such services, with approximately forty percent of used cars showing some form of interior damage. Knowing when to call in a professional is a sign of prudence rather than defeat, particularly for complex repairs involving tricky textures or leased vehicles where perfection is paramount.
Maintaining your dashboard after scratch removal
Successfully removing a scratch is only part of the equation. To ensure that your dashboard remains in excellent condition, it is essential to adopt a proactive approach to maintenance and protection. By taking a few simple precautions, you can prevent future damage and keep your vehicle's interior looking its best for years to come.
Protecting your dashboard from future damage
Prevention is always preferable to repair, and there are several strategies you can employ to protect your dashboard from future scratches. One of the most effective measures is to be mindful of the items you place on or near the dashboard. Keys, coins, and other hard objects can easily scratch the plastic surface if they slide or are carelessly tossed onto the dash. Consider using a small organizer or tray to keep such items contained and away from vulnerable areas. Additionally, when cleaning the interior of your car, use only soft, non-abrasive materials. Harsh sponges or brushes can cause micro-scratches over time, gradually dulling the finish of your dashboard. A high-quality protectant designed for automotive plastics can also provide a valuable layer of defense. These products not only help to repel dust and dirt but also contain UV inhibitors that prevent the plastic from fading or becoming brittle due to sun exposure. Applying a protectant every few months can significantly extend the life and appearance of your dashboard. Furthermore, parking in shaded areas or using a sunshade can reduce the amount of direct sunlight that the dashboard is exposed to, minimizing the risk of heat-related damage. For those who live in areas with intense sunlight, this simple precaution can make a substantial difference. It is also worth noting that services such as those offered by The Mobile Buff provide convenient mobile solutions for residents in Harrisburg, Carlisle, and Central PA, bringing professional care directly to your location. Light scuff repairs can typically be completed in under an hour, while deeper gouges may take several hours depending on the severity of the damage.
Regular Care and Maintenance Tips for Plastic Surfaces
Establishing a regular cleaning routine is one of the best ways to keep your dashboard in top condition. Aim to clean the interior of your vehicle at least once a month, paying particular attention to the dashboard and other plastic surfaces. Use a mild, pH-neutral cleaner and a soft microfiber cloth to gently wipe away dust and grime. Avoid using harsh chemicals or ammonia-based products, as these can degrade the plastic over time and strip away any protective coatings. After cleaning, consider applying a dedicated plastic conditioner to restore moisture and maintain the suppleness of the material. This is especially important for older vehicles, where the plastic may have become dry and prone to cracking. In addition to regular cleaning, periodic inspections can help you catch potential issues before they become serious problems. Take a few moments during each cleaning session to examine the dashboard for new scratches, cracks, or signs of wear. Addressing minor imperfections early on can prevent them from developing into more extensive damage that requires professional intervention. If you do notice a new scratch, assess it using the fingernail test and decide whether it is something you can handle yourself or whether it warrants a call to a specialist. For those who prefer professional assistance, contacting experts such as The Mobile Buff at [email protected] or by phone at zero seven one seven five five nine zero one six six can ensure that your vehicle receives the highest standard of care. Their services are available daily from seven in the morning until three in the afternoon, offering flexibility to fit your schedule. By combining diligent preventative measures with regular maintenance, you can preserve the appearance and value of your car's interior, ensuring that your dashboard remains a source of pride rather than frustration for years to come.